This is an industrial overview of how cheese is made. If you are interested in making your own cheese at home, check out our instructional post How to Make cheese at Home. You can also check out our favourite cheese recipes on our Cheese Making Recipes page. For more information about cheese ingredients, check out our Ingredients in Cheese post. We review and suggest cheese making kits and the products you need to make cheese. Visit our Cheese Making Kit and Reviews page for more info.
Enjoy!
The basic cheese making process has been the same for centuries. The main points that have changed are the quality of the milk, the general manufacturing practices and the use of laboratory produced cheese cultures.
step one
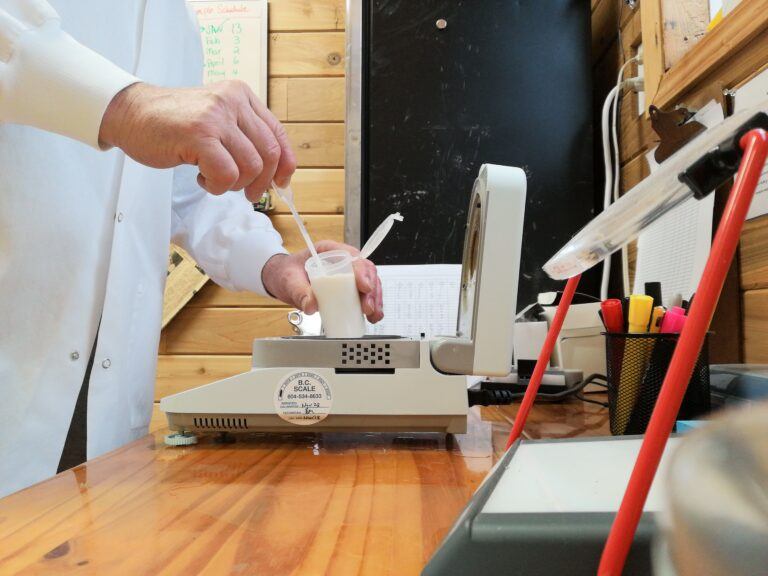
The milk is received. The cheese maker inspects the milk to see if it is clean. They will smell and taste it, and then place a sample into a sterile container which is stored in the fridge. This sample can be used for further testing if something goes wrong during the cheese making process. Out of that sample they immediately test the milk for antibiotics and for butterfat.
Butterfat needs to be tested so the cheese maker can determine if they will have to reduce or enhance the fat in the milk in order to reach the required fat content in the cheese.
Upon receiving, the milk is being tested for quality and antibiotics.
Milk from the farms being delivered to the cheese plant
step two
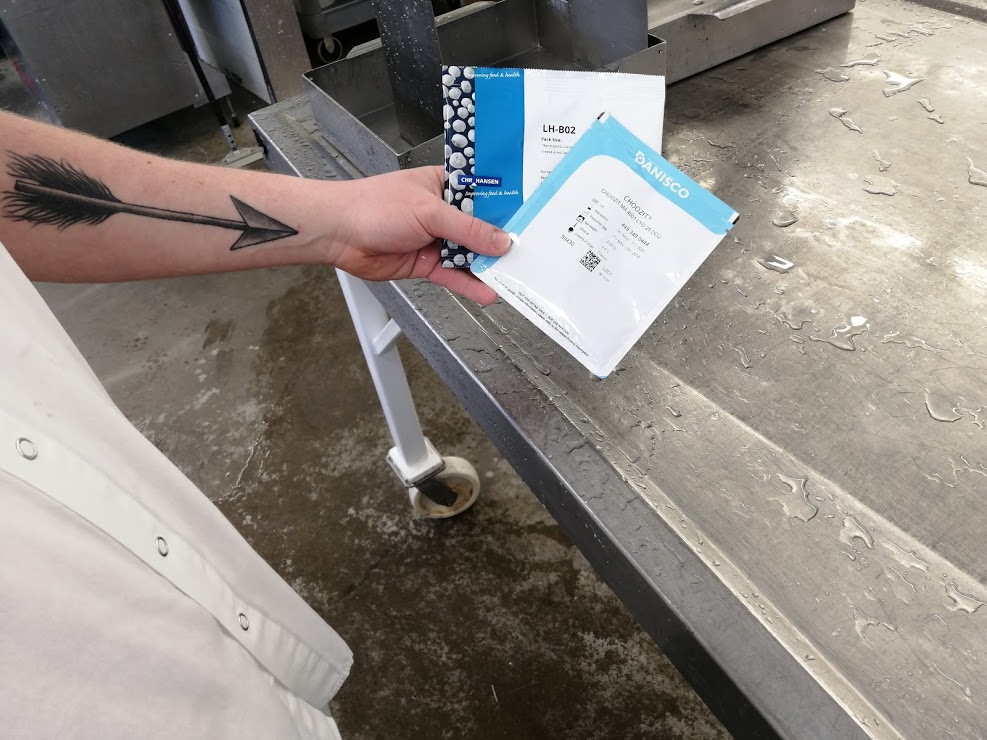
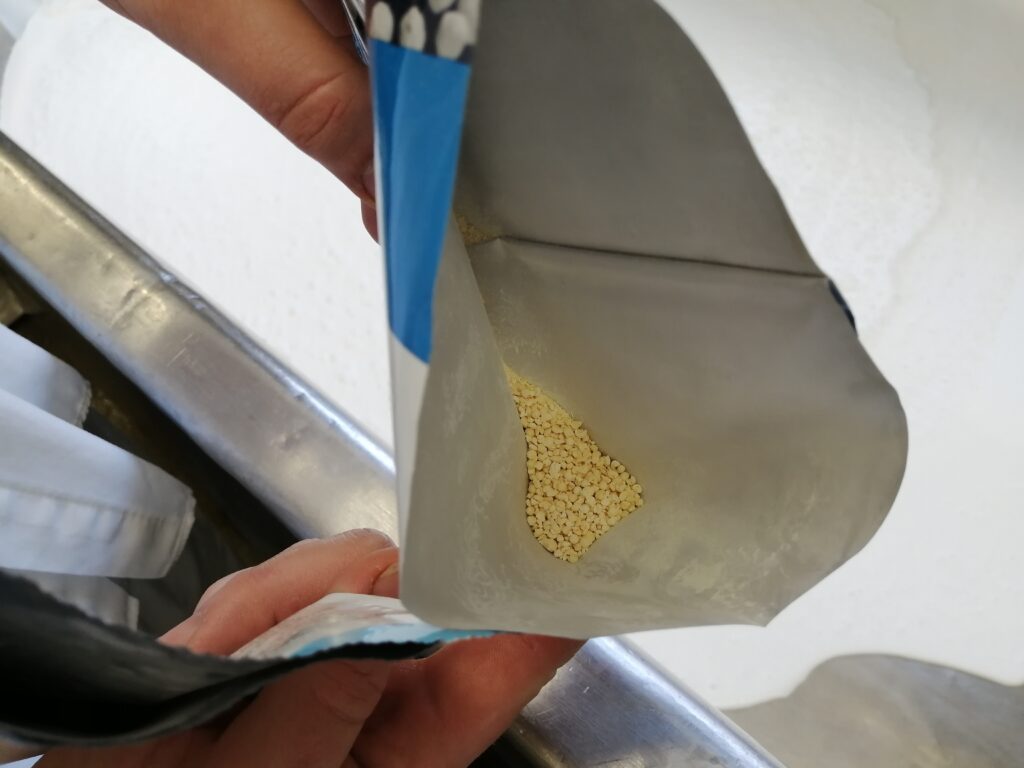
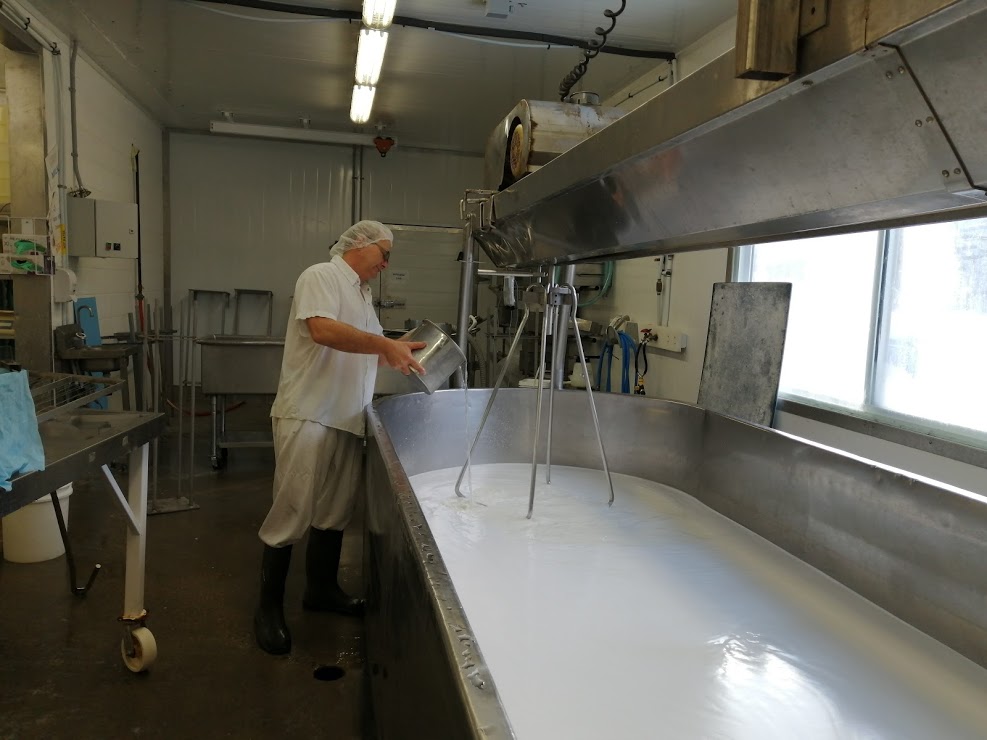
The milk is now either pasteurized, heat treated, or pumped as raw milk into a cheese vat. The milk is heated to 32C/90F. The cheese maker now adds the bacteria cultures. These cultures are freeze dried and are kept in a freezer. They are ordered from special suppliers. There are many ways for the home cheese maker to access cultures, I suggest some here. I will talk about that in the article about home cheese making. The milk will now be agitated at 32C/90F for one hour. During that time the culture “wakes up” and begins activity. The bacteria starts “eating” lactose which will produce lactic acid and, therefore, start to slowly acidify the milk.
Pasteurizing the milk into a large vat to begin the cheese making process.
Freeze dried bacteria culture, ready to be added to the milk.
step three
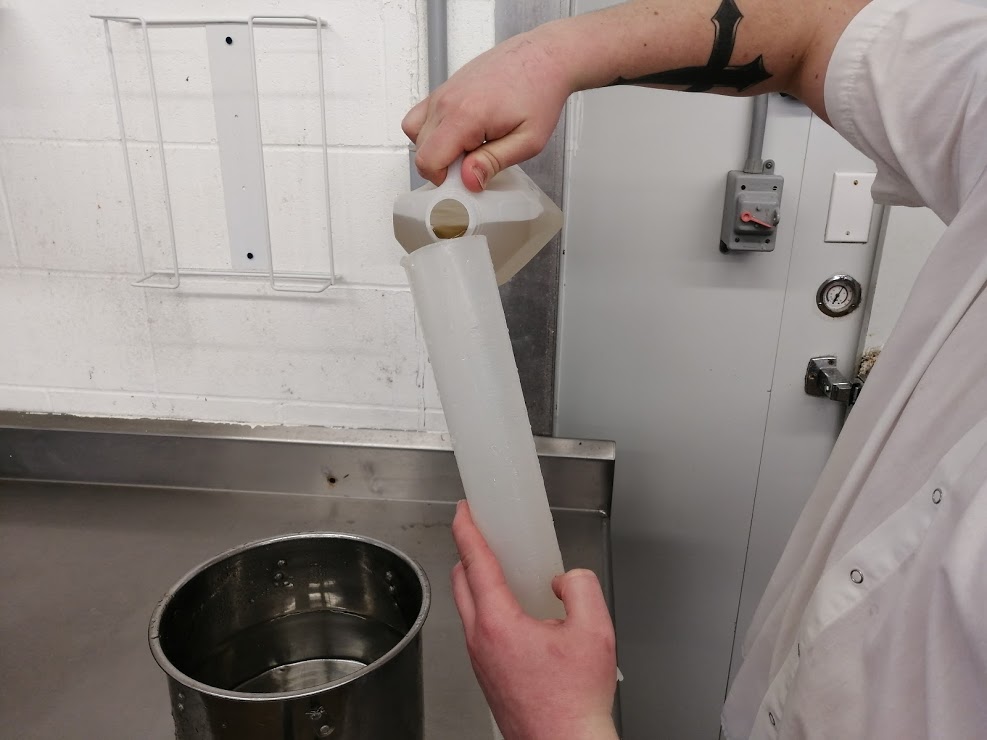
About an hour after the culture was added, the cheese maker will add the rennet, slowly stirring it into the milk. This takes about 5 minutes, then the milk needs to rest.
The exact amount of rennet needed is measured.
The rennet is then stirred into the milk.
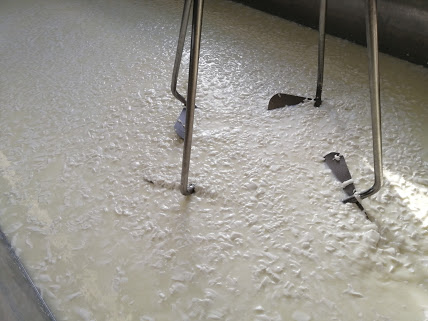
step four
The coagulation process takes about 30 minutes. The cheese maker checks the thickness of the curd, then uses a cheese harp to cut the curd into hazelnut size kernels.
Checking the thickness of the curd.
Using a cheese harp to cut the curd.
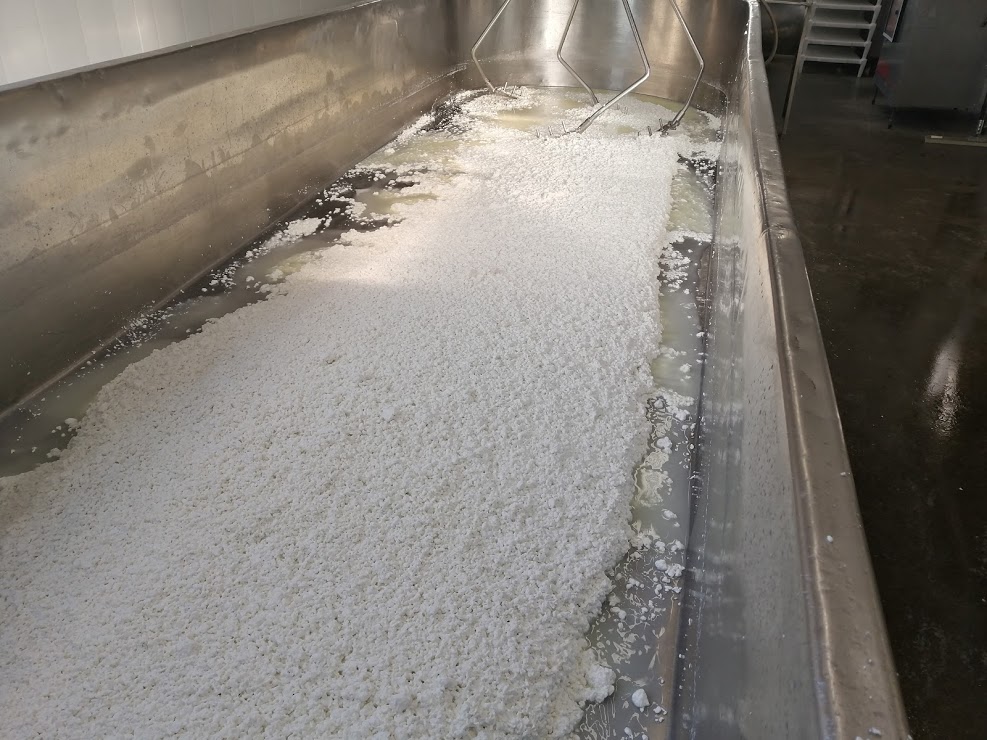
step five
The size of the curd depends on the cheese being made. In general, a harder cheese requires a smaller curd and a larger curd makes for a softer cheese. The smaller curds are made up of more surface space than the larger curds, therefore drying quicker and creating a harder cheese. Regardless, the cheese maker will watch for a clear separation between the curd (the future cheese) and whey (mainly water, whey proteins, lactose, and some minerals). The whey should display a yellowish (cow milk) or greenish (goat milk) colour.
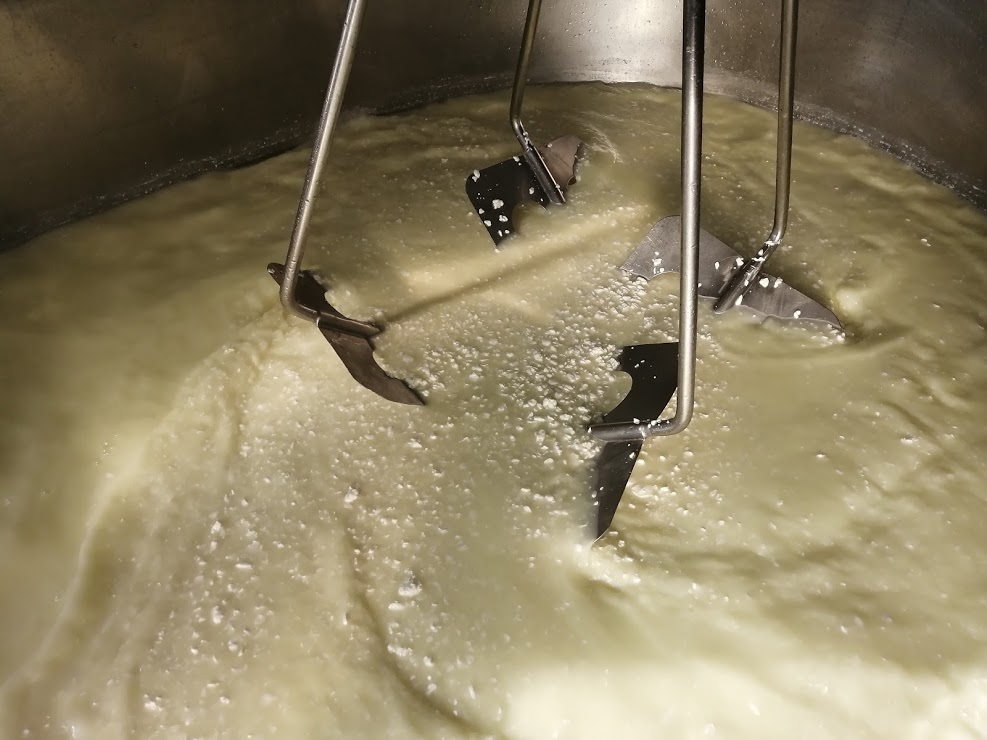
step six
The curd is losing water, which makes it dryer
Now the curd is agitated, or in some cheese recipes the curd is left undisturbed. During that stage, the culture bacteria continues converting lactose into lactic acid and slowly acidifies the curd. This causes the curd to lose water, which will make it dryer. This process can be sped up by heating the curd.
step seven
Heating the curd.
The curd can be heated. The general rule is that the higher the curd is being heated, the drier and harder the cheese will be. The curd of soft cheeses are typically not heated at all. Curd of extra hard cheeses are being heated up to 60C/140F. It is important that the culture can handle the curd temperature; another reason why the cheese maker carefully selects the cultures depending on the cheese being created.
step eight
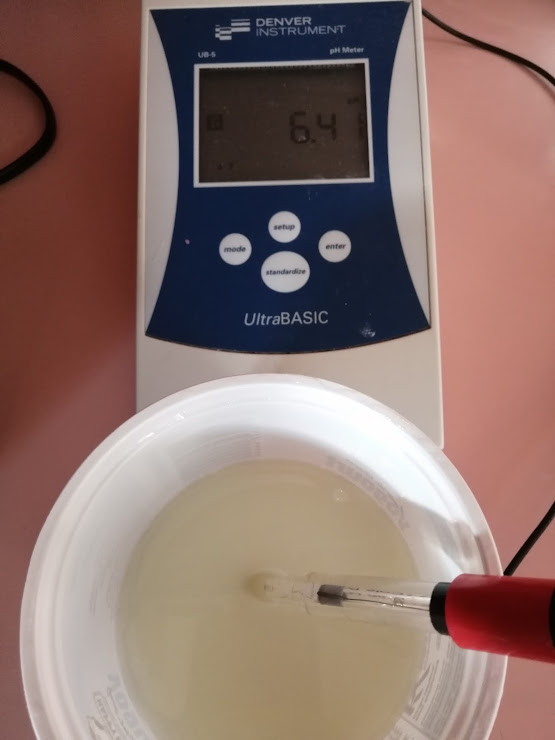
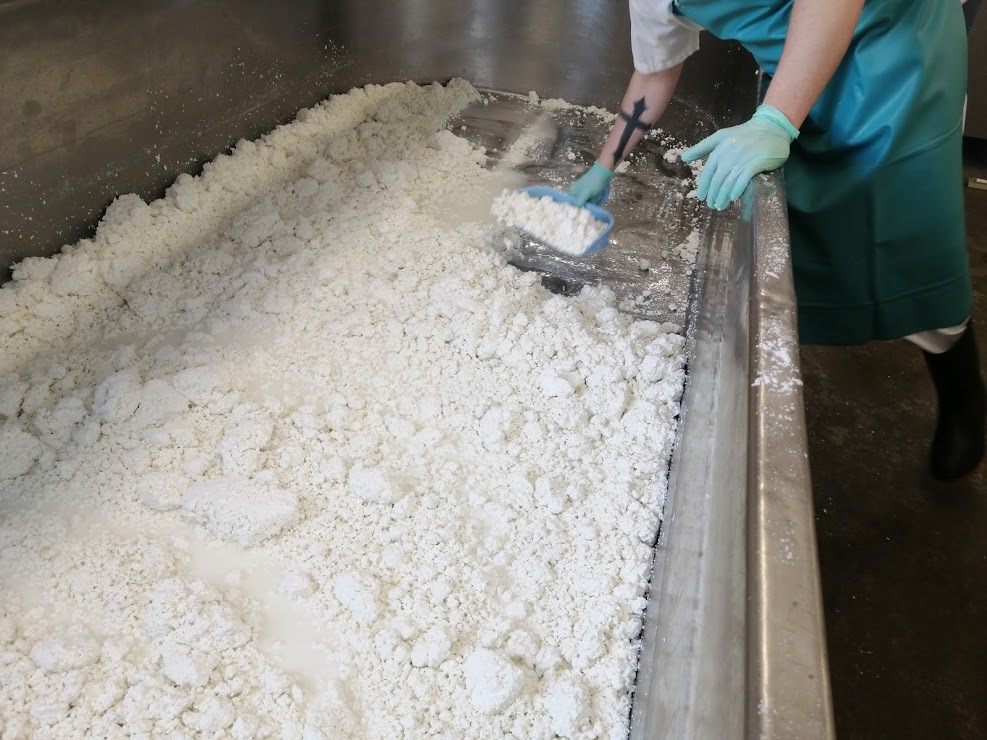
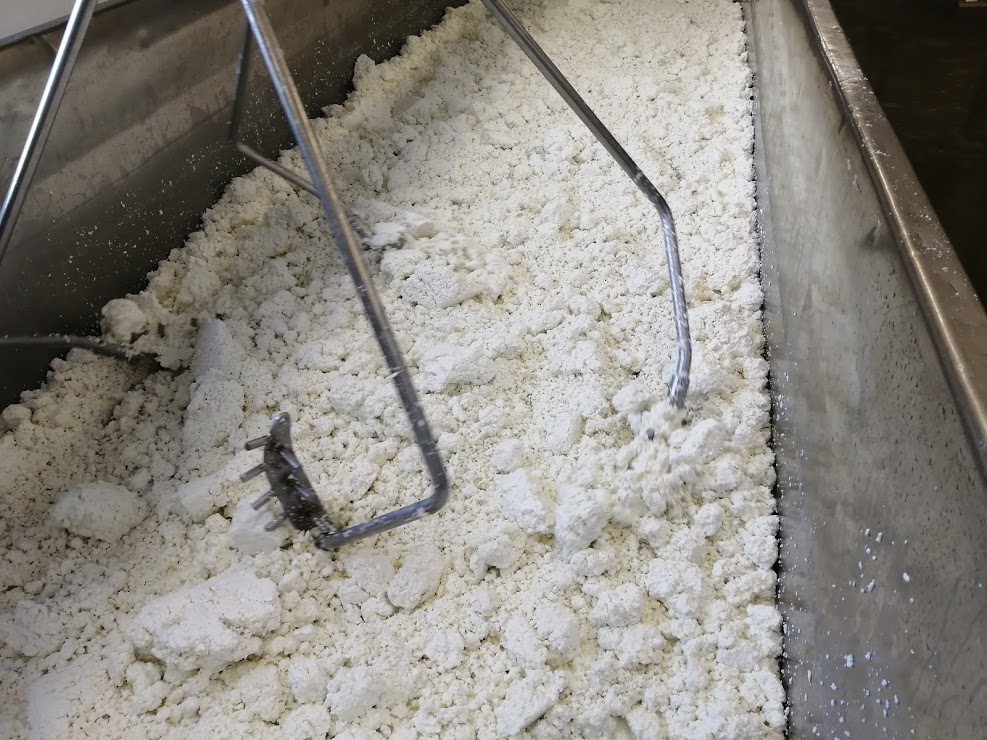
The heating and stirring of the curd continues until a certain acidity of the curd is reached. The acidity is measured by pH or via an acidity meter. During the stirring, the cheese maker might add water to the curd; this will make the development of the acidity slow down. Further, the curd needs to develop the correct dryness.
The artisan cheese maker checks this with their hands. An experienced cheese maker touches the curd and will know right away if the correct dryness is reached. There are many tricks to test this. For instance, the curd can be pressed in the hand and then broken. If it breaks clean, the curd is ready. In industrial processing, sensors can measure the dryness of the curd.
The acidity is measured by pH or via an acidity meter.
The acidity and the dryness of the curd need to match up and reach a desired level. This determines if the curd is ready to go into the next processing stage. Typically, the stirring and heating takes a certain amount of time and after a recipe is developed, the cheese maker knows when the curd will be ready. However, they will always double check.
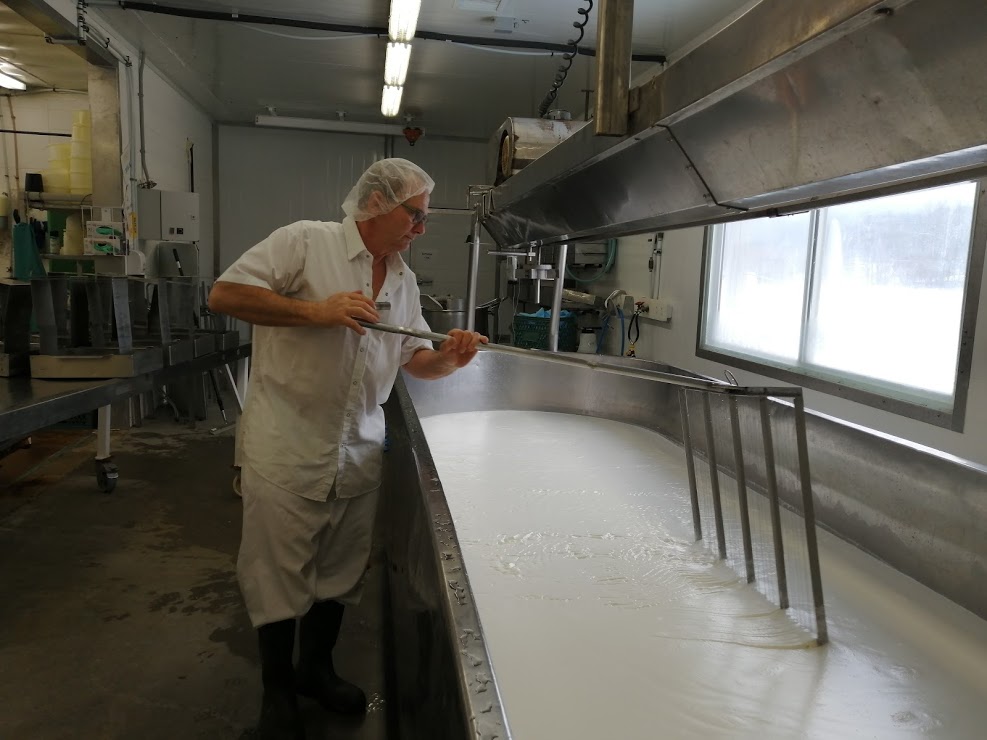
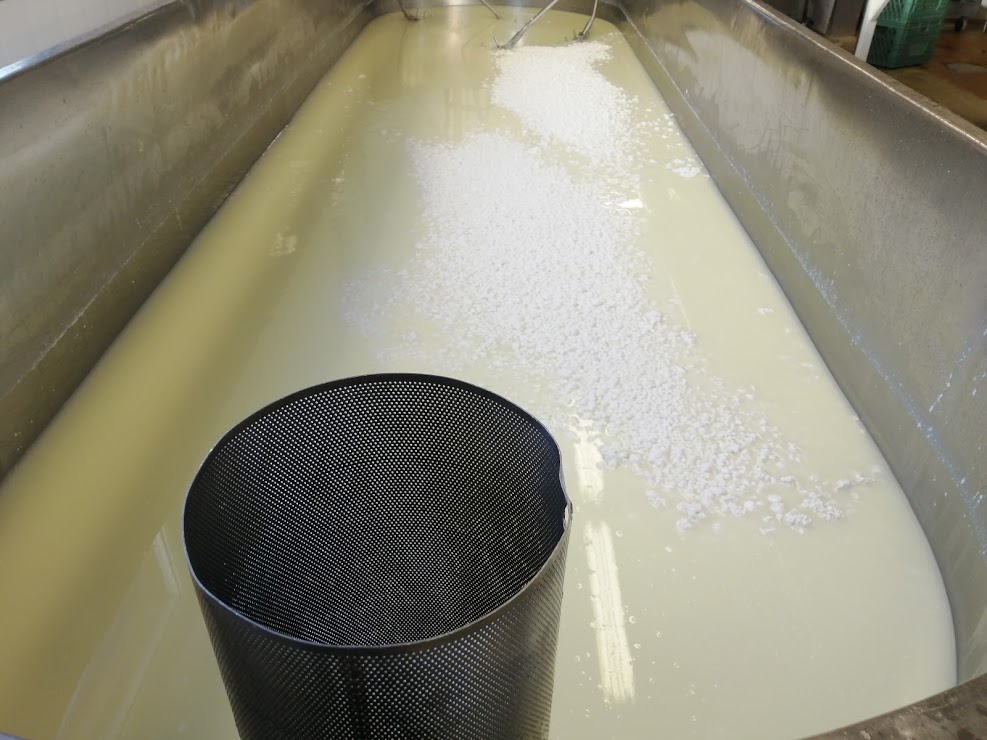
Draining the whey.
Stirring of cheese curds while whey is being removed
Draining the cheese curds.
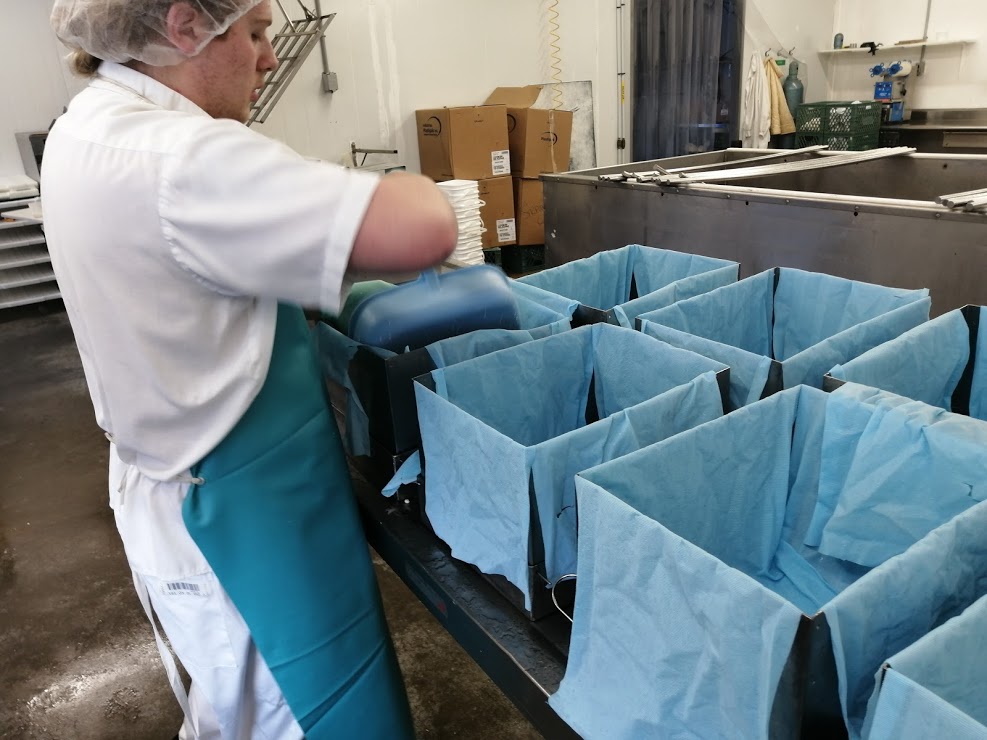
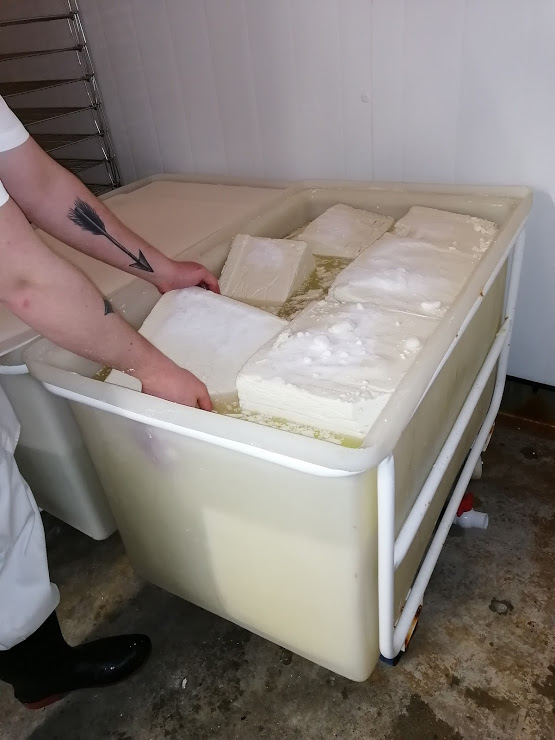
step nine
Now the curd is ready to be taken out of the vat and transferred into moulds. There are two ways to accomplish this:
The traditional Central European method:
The curd is now scooped or pumped into cheese moulds. Cheeses can have all kinds of different sizes, from 100kg/220lb Swiss wheels, to 500g/half pound wheels. If holes are desired in a cheese, the curd is scooped loosely without any whey into the moulds. Cheese without hole development is transferred with a lot of whey into the moulds. This pushes the air out, inhibiting gas from bacteria to find a crevice and develop a hole.
The cheese curd is scooped into cheese moulds
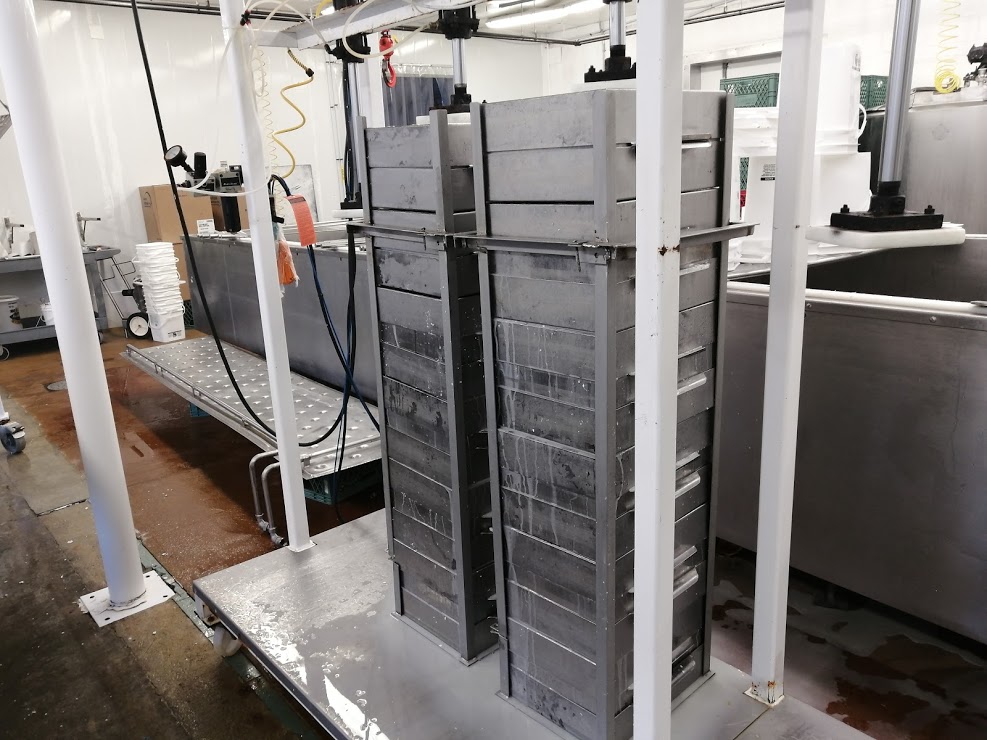
The cheese moulds might be pressed. Again, there is a difference between hard cheese and soft cheese. Soft cheeses are not pressed, the gravity is enough to form a nice firm cheese. The harder the cheese the more press weight the cheese moulds will require. The cheese will stay in the press until the next morning, about 18 hours. During that time the whey drips out of the cheese and the acidity drops to the required level.
The cheese molds are being pressed.
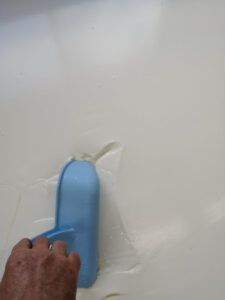
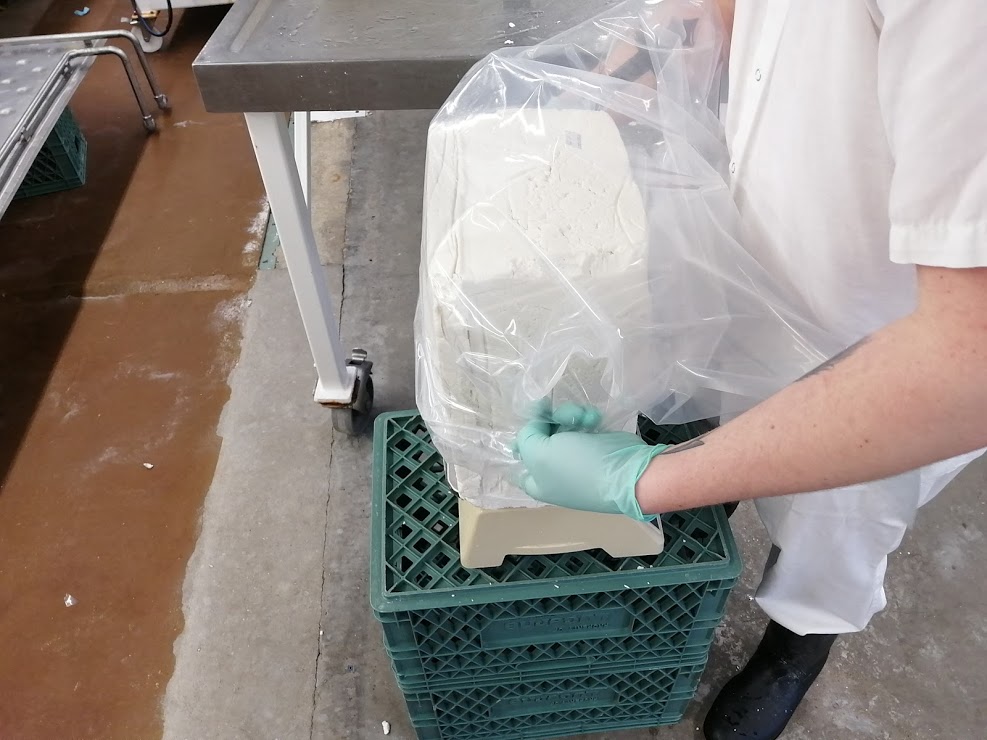
Now the cheese needs to go into a brine. A brine is a saturated salt solution. The salt will enter the cheese causing the water to exit. This is called diffusion. Softer, smaller cheeses might rest in the brine for only 20 minutes, where as the larger wheels of a hard cheese can stay in the brine for 2 days.
Brine of the cheese blocks
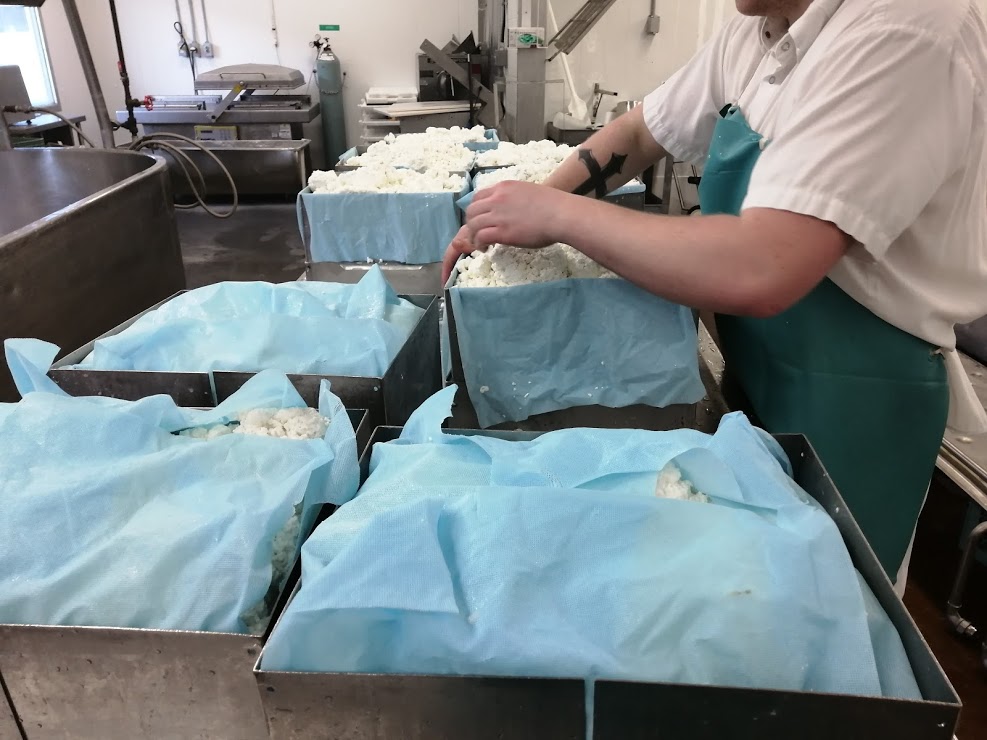
North American Stirred method:
In this method the whey is drained out of the vat. Then the curd is mixed and salted. Salt is added directly into the curd. Then the salted curd is transferred into the moulds. The moulds are pressed like in European method, and the next morning the cheese is checked for the correct level of acidity.
The salt is being mixed into the cheese curds
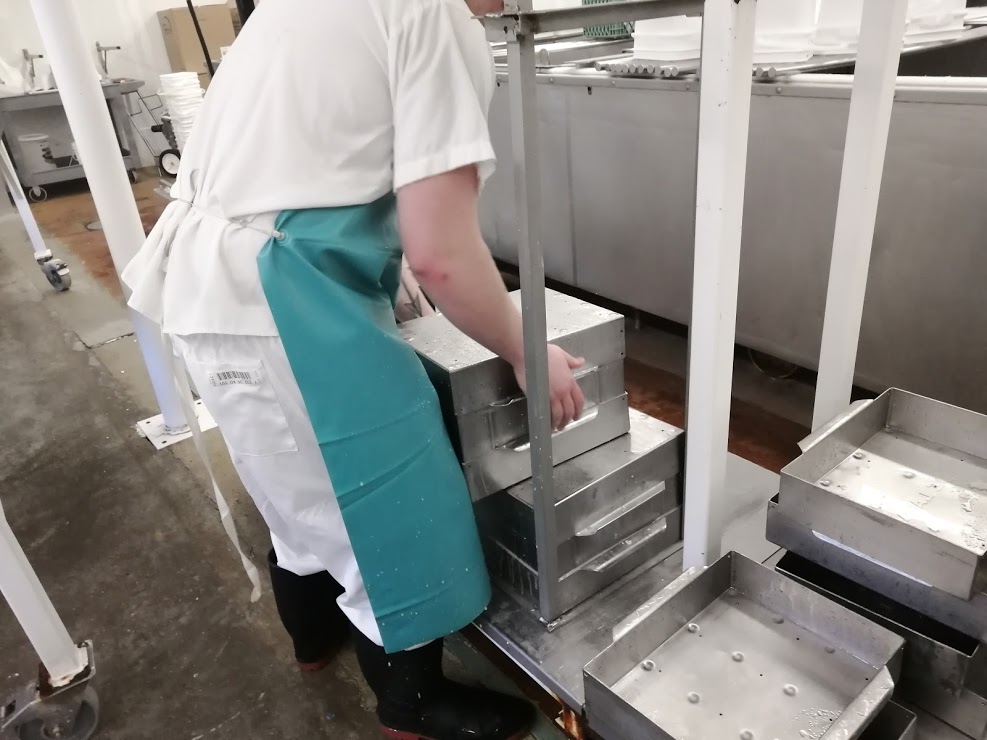
The cheese curd is transferred into cheese molds
The cheese molds are placed on the cheese press
step ten
Aging. The salted cheese can now be treated several ways. In North America most industrially produced cheeses are vacuum packed and then aged in coolers at various temperatures. Many European cheeses or artisan produced cheeses are either waxed (like a Gouda, Edam, or Baby Bell), or washed in order to develop a rind.
The cheese blocks are ready to be vacuum packed
Vacuum packing of the day old cheese
Wax covered Gouda wheels
The rind wash water contains a specific bacteria that helps the rind build. Ingredients such as salt, pepper, wine, or anything desired for a specific note can be added. Rind ripened cheeses can be aged for 3 weeks to 12 months. Mold ripened cheeses are sprayed with a mold culture and aged in a high humidity, temperature controlled ripening room.
step eleven
The last stage is the final quality control and packaging. The cheese is either sold as a wheel, a block, or cut up and sold in consumer size packages. Quality control consists of making sure there are no pathogen bacteria present and also no shelf life reducing factors, such as yeast or unwanted molds.
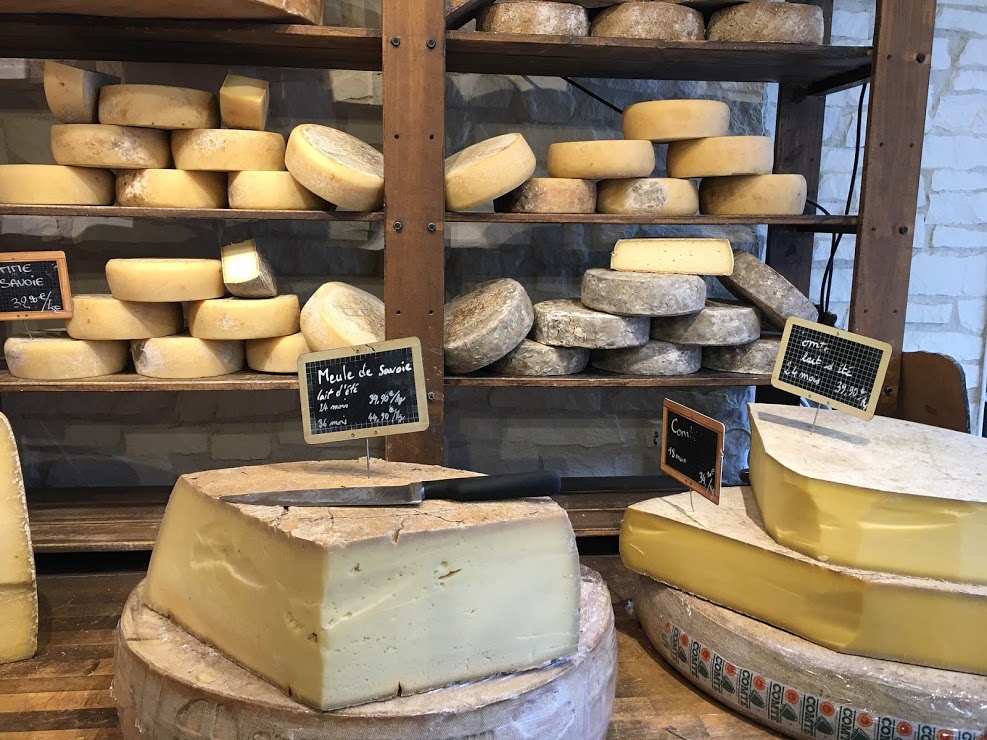
Artisan cheeses on display
Yield
Cheese yield ranges from 8 to 15 %. That depends on the amount of components in the milk and mainly on the amount of moisture left in the cheese. Hard cheeses have a low yield, soft cheeses have a higher yield. If we take 10% as an average, then you can expect about 400g/1lb of cheese from 4L/Gallon of milk. This of course is a very basic description of the cheese making process. In the article about How to Make Cheese at Home, I will show you a few very specific cheese recipes that are easy and fun to make at home.
Please let me know if this article was informative. Have you seen cheese being made before? Have you ever tried to make your own cheese at home ?
I love cheese ?? And I really liked your well-described post. I had never seen cheese being made before so with all the pictures you put in your post, it was easy to follow the making process. I knew it was a lot of work but I didn’t know it was that much work. I hope your home recipe are a little easier. ? I’ll surely take a look at them because… I love cheese a lot ? Thank you for the explanation, I learned a lot!


Very interesting
Thank you Vivian.
I love cheese ?? And I really liked your well-described post. I had never seen cheese being made before so with all the pictures you put in your post, it was easy to follow the making process. I knew it was a lot of work but I didn’t know it was that much work. I hope your home recipe are a little easier. ? I’ll surely take a look at them because… I love cheese a lot ? Thank you for the explanation, I learned a lot!
Audrey
Thanks for your feedback, Audrey! Check out our recipes site for homemade cheese>.