How To make cottage cheese at home
")
Cottage cheese is an all-time favourite. Making it at home is fun and you will find that your own product is more flavourful. Cottage cheese is mainly produced in large factories and is seldom available as an artisan product. This recipe will make you a great homemade cottage cheese.
To make cottage cheese it helps a lot to have a pH meter, if you are an experienced home cheesemaker you might have one. If not, don’t worry about it. Make sure that you follow the recipe exactly step by step. It is really important that the acidity has developed to the correct level in order to make a good product. By using the exact amount of cheese culture at the right temperature and the required time will make sure this is the case without having to purchase a pH meter.
Make sure all your tools and utensils are super clean. Use bleach or boiling water to sanitize everything that comes in contact with the milk.
Check out our post on How to Make Cheese at Home to learn the art of making cheese. It’s a fun project for everyone.
For easy homemade cheese recipes check out our Cheese Making Recipes page.
If you are interested in the world of cheese making, visit our cheese Resource page and our How Cheese is Made post.
We review and suggest Cheese Making Kits here if you would like to get started with making cheese.
Enjoy!!!
How to Make cottage cheese
Ingredients:
- 2 L/ 2 qt of milk (any type works)
- ½ tsp of starter culture, you can order it here
- 2 drops of liquid double strength rennet, mixed with 2 tbsp of cold water. (or 4 drops of single strength rennet). You can order it here. Liquid rennet works the best. If you have a rennet tablet, you can use it, but you only need a tiny bit, like the size of half a rice kernel. Mix the rennet (liquid or tablet) in 2 tbsps of cold water.
- 1 L/1 qt of ice-cold water, place it in the fridge at the beginning so it is cold when you need it
Process of making cottage cheese:
- Heat the milk at low heat to 32 C/ 90F.
- Add the starter culture.
- Add the rennet, mix well.
- Cover the pot with a lid and a plastic bag.
- Let the milk sit at room temperature for 2 hours and 30 minutes.
- If you have a pH meter, the pH should have dropped to 5.2.
- The milk should have coagulated by now.
- With the knife cut the curd into 1.5 cm/ ½ inch squares. Run the knife one way, then the other.
- Let the curd sit for 5 minutes, then with a large spoon, very gently roll the curd over.
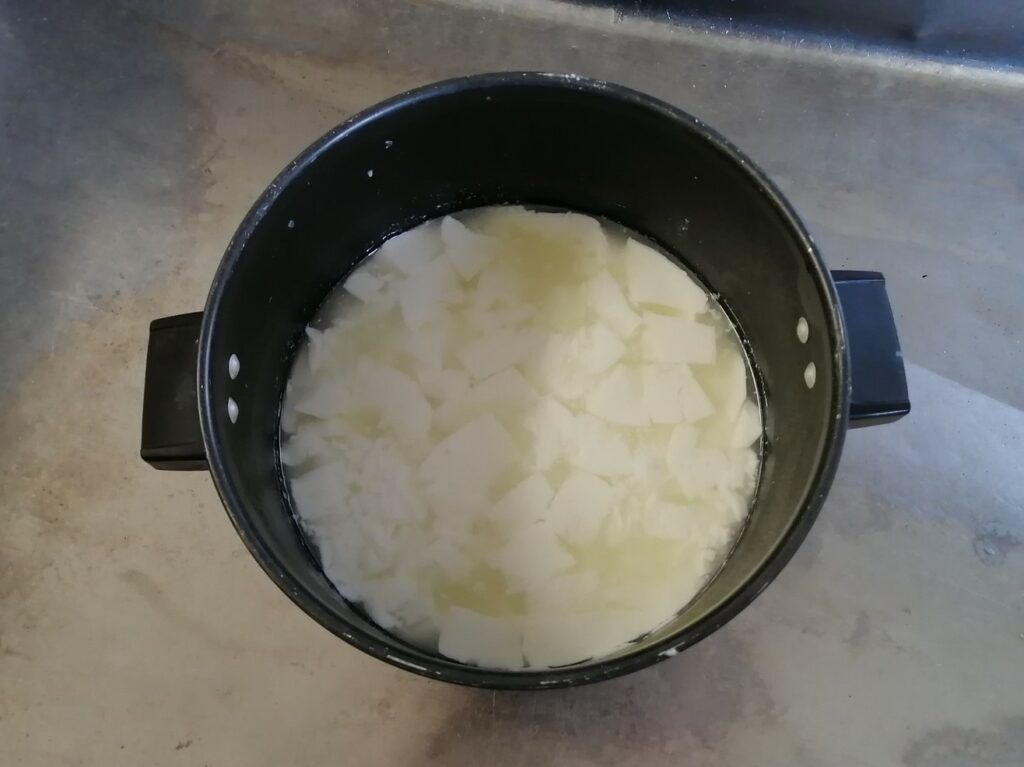
Cut the curd in half inch squares and let it sit for 5 minutes
- Place the pot on the stovetop and set the heater to the minimum setting.
- Heat the curd to 51 C/ 124 F, gently stirring it every 5 minutes, this should take 60 to 90 minutes. It is important that the heating happens slowly.
- If you heated it in less than an hour, let the curd sit until one hour has passed from the time you started the heating process.
- Place the colander into the kitchen sink and slowly pour the hot curd into it.
- Let it drain until the bulk of the whey has disappeared.
- Keep one cup of the drained whey.
- Place the curd back into the pot and add 2 cups of luke warm water ( about 30 C/ 88 F).
- Let the curd sit in the warm water for 3 minutes.
- Pour the curd and the water into the colander and let all the water drain.
- Place the curd back into the pot and add 2 cups of cold water from the tap.
- Let the curd sit in the cold water for 5 minutes.
- Pour the curd and the water again into the colander and let all the water drain.
- Pour the drained curd one more time into the pot and add 2 cups of ice water from the fridge. Let the curd sit in the cold water for 10 minutes.
- Pour the curd and the water one last time through the colander.
- Place the cottage cheese in a bowl or a Tupperware and refrigerate. It is now ready to be consumed.
- If you like drier cottage cheese you can let it drain longer. If you like it creamy you can add some of the whey you retained after the first draining along with some cream.

Gently stir the curd every 5 minutes during the heating process
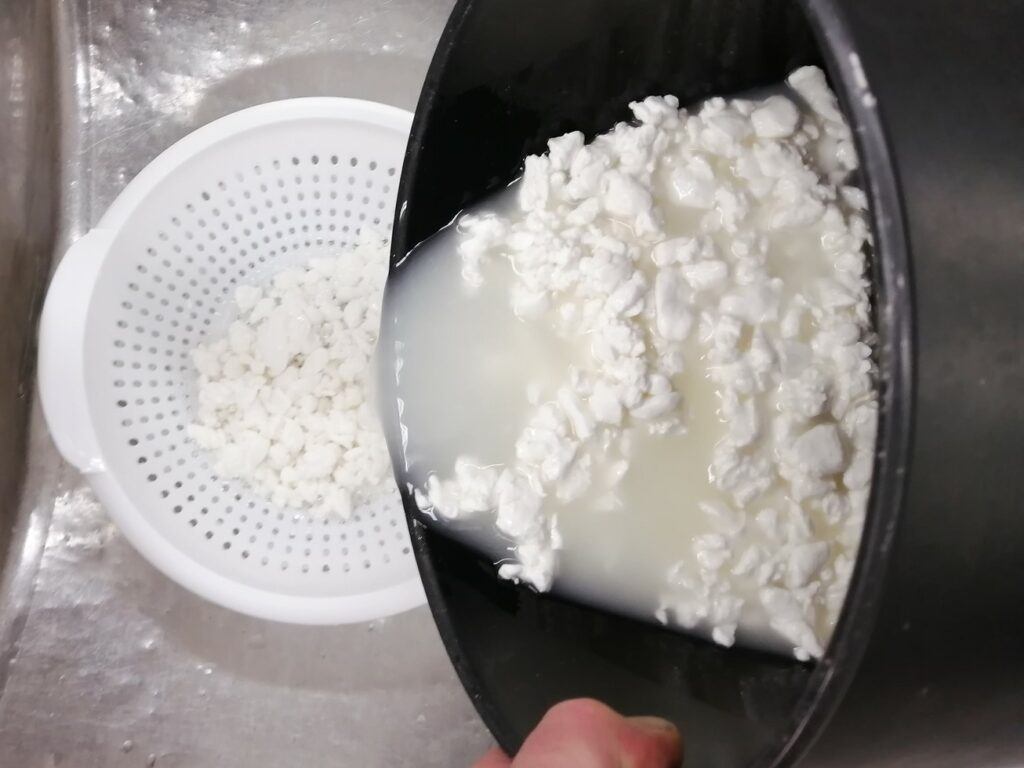
Draining the curd in a colander
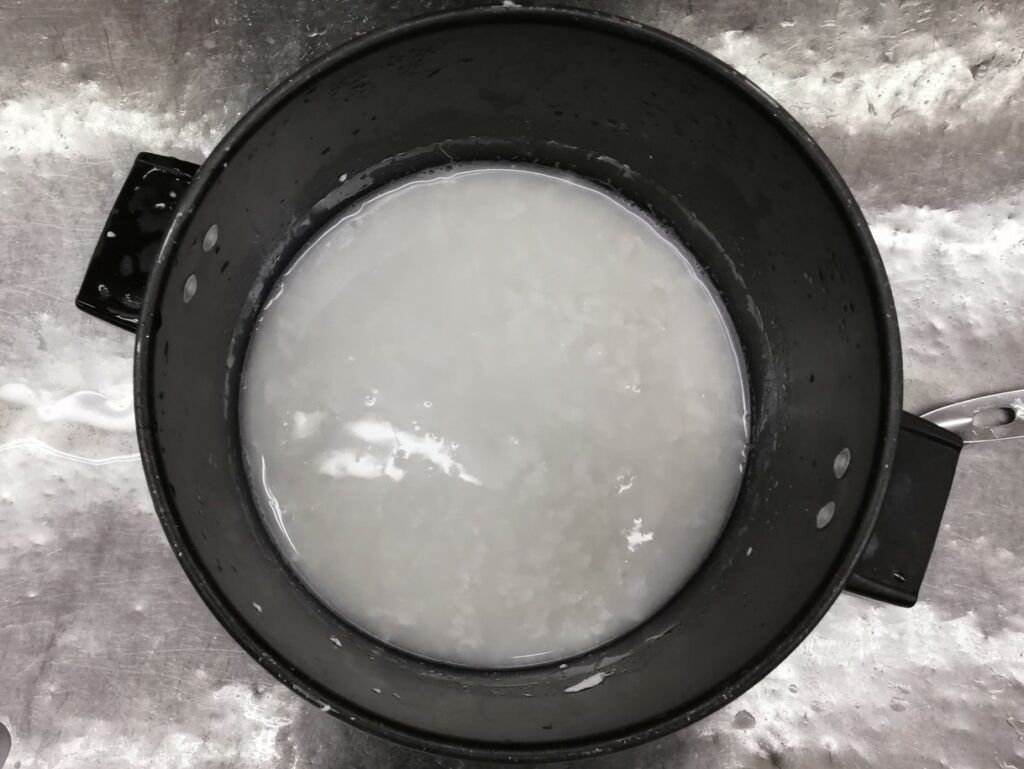
Washing the curd
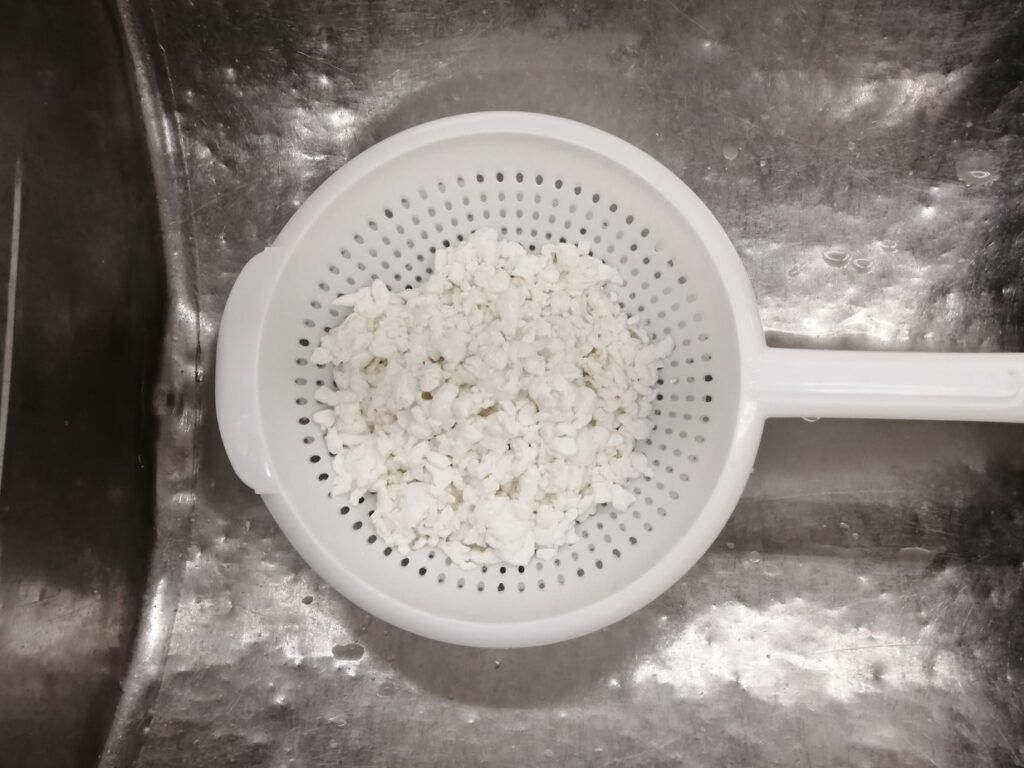
After the 4th draining the cottage cheese is ready to be consumed
Troubleshooting:
- The cottage cheese is not draining properly: If that is the case, then the acidity has developed too fast, or in other words, the pH is too low, probably below 5. If this happens, you can still proceed with the process, just be patient and wait until the cheese has drained. If this happens the cottage cheese will be very creamy and will have hardly any individual kernels. For the next try, let the milk sit for 2 hours only, instead of 2 and a half.
- The cottage cheese made very fine tiny kernels: That can happen if you cut the curd at the beginning too small. Cut the curd in half inch cubes, then very gently stir it up. If you stir too aggressively, you will break down the curd too much which will result in a fine curd, which is not typical for cottage cheese.
- The cottage cheese is very bland with very little flavour and the curd is quite firm and likes to mat together in a lump: This happens if the acidity didn’t; develop enough, or in other words, if the pH is too high, like 6. You can still consume the cheese, but it lacks the flavour. Next time leave the milk sit for a half-hour longer before cutting the curd and make sure the pot is kept warm by covering it with a plastic bag.
- If you are serious about making cottage cheese on regular bases and you find the quality is not consistent, then invest in a pH meter. It will make the production much more reliable.
Leave us a comment below about how your recipe turned out. Feel free to suggest ideas or what you would like to see in our recipes.
Enjoy!!!